Friday 19 August 2011

Taste Odyssey #5 - "Easy" Oreo Truffles

Recipe: http://allrecipes.com/recipe/easy-oreo-truffles/detail.aspx

I may have added the quotation marks around the easy.  Pulling way into the lead for the most obnoxious recipe I have yet attempted, this week's experiment is going to be a lot of error and a little bit of trial and probably quite a bit of recollected swearing.  At least there are happy pictures.  To get the migraine warning done from the get-go, there is nothing in any of the ingredients here that should cause problems to your average MSG or food thickener sensitive eater.

We'll begin with my first admonishment; I'm not sure what crazy Oreo packages are available in the States, but we definitely don't have the large-size "Trailer Park Biscotti" package that the ingredient list calls for on most Canadian store shelves.  Or any Canadian store shelves.  You are definitely going to need two boxes to make up the 36 Oreos plus 9 extra.  Especially if you dip into the stock.

Speaking of, there will be no further discussion of the "set aside 9 Oreos to be crushed for garnish later" because I ate them all while I was in the middle of crushing the first 36.  Baking be not proud.  In my own defense, I don't see that they would have added much besides some visual appeal.  Since they looked fine without, we'll just go with the idea that the extra baker bling was not required.

Starting off proper, it was time for our good buddy Mr. Rolling Pin to come back into our lives, ready to wail on those Oreos like it was the end of the Stanley Cup finals and he needed a new TV.  I'm going to say that while I have yet to start into the food processor for these weekly experiments I probably could have used one here.  Crushing 36 Oreos to a fine paste requires a serious application of force for way longer than I was expecting and I had to pause more than once to let the pain dull.  Your basic large size Ziploc bag will comfortably hold all the Oreos for the pulping.  You know you're done when it looks like you've beaten the taste out of them and your arm is taking out a restraining order against you.


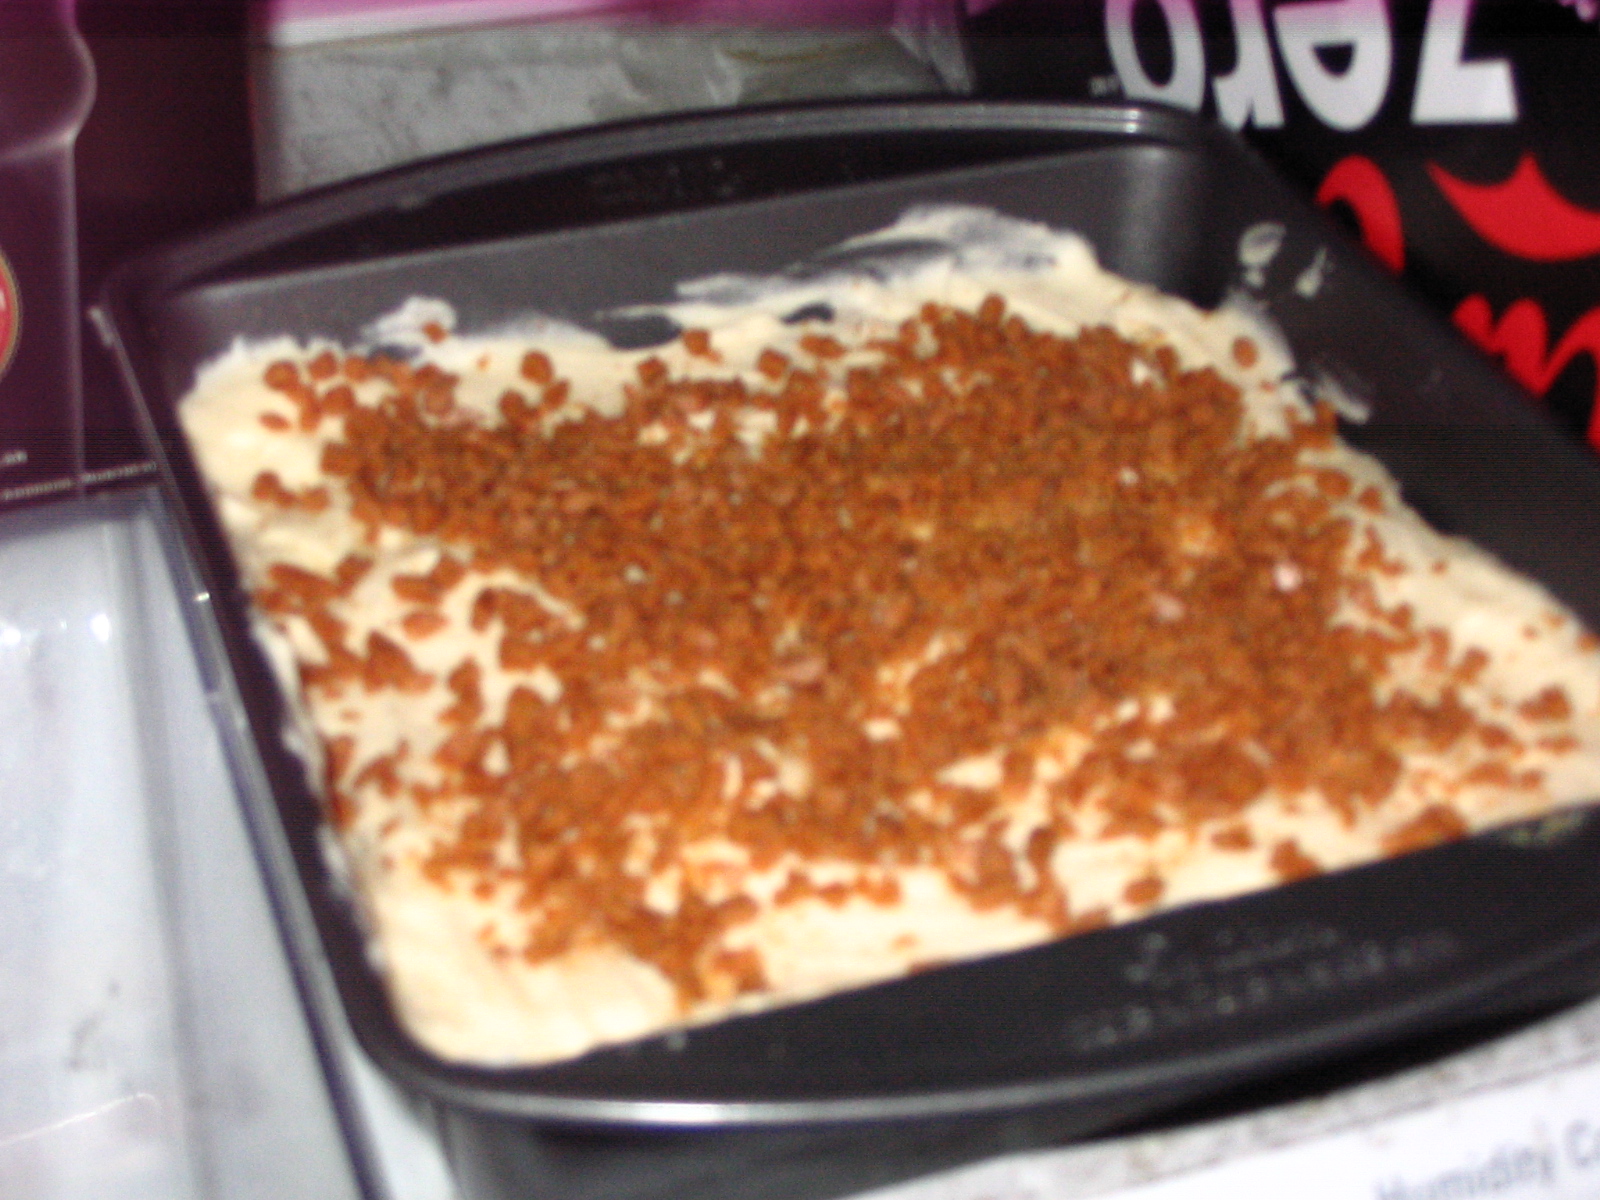
Delicious.  As if that wasn't joint-crushing enough, the next step on this jaunt is to combine these crumbs with the softened cream cheese.  This part is pretty straightforward, although it requires a lot of elbow grease to get things mixed together.  Again, the food processor would probably have helped at this juncture but you don't get the same level of madness or frustration that I experienced and where would the fun in that be?  You will know that the mixture is ready when it has a consistent texture of a giant cow pat.


Now you're ready to practice throwing for rodeo competitions.  Or you could continue baking.  Your choice, I give you options here.  Next step, and one they don't really mention in the recipe but I read in the comments and will make your life and mine much easier, stuff the dough in the fridge for about 10-15 minutes to cool.  You're going to be rolling these happy campers into little balls about an inch around and having the dough chilled makes this infinitely easier.


The balls, in turn, are going into the freezer for 15 minutes, which is why I laid them out on this glass container to keep them separate.  I ended up splitting the truffles into two separate batches, which is pretty much a necessity if you're working with melted chocolate and are a slow-ass such as myself.

Once your balls are chilled, and you can make your own joke here, I don't think you need my help, you are on to the chocolate melting portion of our show.  I had originally planned to jury-rig a double-boiler using some instructions I found around the internet.  By this point in the cooking process I was so bugger annoyed that I went to the microwave method instead.  In my defense...  I got nothing.  However, the microwave method worked well enough that I would use that over fiddling with double-boilers any day of the week.

Since you'll be doing this twice, grab the first package of chocolate and break it apart into little chunks in a bowl that ideally won't retain a lot of heat.  I used stoneware and it seemed to do fine.  You should melt the chocolate for two minutes on medium heat.  I will say that both times I did this I used 50% and 60% power respectively and the chocolate did not melt as fast as I wanted and started to harden much sooner than was conducive to me not swearing loudly.  Hindsight being what it is, I'd say do two minutes at 70% power, times varying based on microwave power etc, and then poke at your chunks.  While they may retain their shape at the start, the chocolate should go into soupy blob form with a little prodding from a plastic spatula if it is hot enough.  If this does not occur with ease, the chocolate is not hot enough, trust me.

Once you have the chocolate melted, it's dipping time.  Since you froze your balls off, free one for you there, you will have a much easier time getting the truffles to hold shape when they are engorged in the chocolaty death that awaits them.  Make sure you have a cookie sheet ready to go with wax paper on top, then grab a fork.  Balance truffle on fork, dip and roll around in chocolate as needed, lift, let excess chocolate drain, then place on sheet.  Repeat until the truffles are coated, bog easy.  To describe.  To do, with partially melted chocolate?  Much harder.


Once you have the truffles inelegantly laid out, stuff them in the fridge for an hour to cool and harden and all that good jazz.  Then serve.  I have to say that I was not a huge fan of how these tasted, but I was well and away the minority.  It may have to do with how embittered I was after the whole damn process, to be fair, but everybody else absolutely loved them.  I suspect with the knowledge I put together here I could make these with much less hassle and since they went over well, I will probably give them another go at some point.

On that note, I'll be back in two weeks with another crazy creation from the kitchen.  I've got a course going on this weekend that will preclude me from getting a recipe together, to the delight of my pancreas no doubt, but I'll return with something that I hope will be equally delectable.  Until then, let them eat bake!

Thursday 11 August 2011

Taste Odyssey #4 - Chocolate Cavity Maker Cake

Recipe: http://allrecipes.com/recipe/chocolate-cavity-maker-cake/detail.aspx

This cake is ridiculously processed compared to the recipes I tend to favor, but the sound of it was too good to pass up.  I'm glad I bent my rules a little for this one because it is so decadent it ought to have a poetry reading at a salon.  I just checked and this is my first use of the word decadent, soon you will understand why.

Another experience in being a guy who is getting the hang of baking in this week's installment.  Did you know that a Bundt cake pan is the same thing as a fluted cake pan?  That makes one of us; definitely not this poor dimwitted chef who spent far too long scrutinizing every pan at Wal-Mart before fighting off my most base perfectionist desires and just grabbing the damn pan that looked pretty close to what I was looking for.  Turns out it was exactly what I was looking for, but now nobody else has to suffer as I have suffered.  Until they try to flour the pan.  See the first recipe entry for details on flouring if you want the refresher course, but let me tell you that flouring a fluted cake pan is a hell of an exercise.

Back to the ingredients.  You're in trouble with food sensitivities right out of the gate on this one.  Betty Crocker doesn't give a rat's ass if you can't handle your gluten; that xanthan gum is a potential landmine for some people.  It is way down on the ingredients list and it didn't hurt my wife either of the two times she had it, but you are warned.

Otherwise the list is fine - I chose Kahlua for the coffee liqueur and it was perfect.  Your sampler bottle is going to give you enough booze for roughly 1.8 of these cakes, luckily I had some extra mini-bottles around to top up the second attempt.

That brings me to another interesting point; I made this cake twice on two subsequent weekends but both times it was different and I think that both versions had their merits.  I made the first cake with mint chocolate chips, as I read that the mint really set it off.  Now, the alteration suggested using a package of crushed Andes mints, which I can't get in Canada.  I replaced them with mint Chipits and I have a hunch that these were a bit stronger than the Andes would have been (you can really taste the pack llama and Sherpa!).  If you don't mind a strong taste of mint I think the cake works really well as a chocolate mint cake, but it is going to overwhelm a little.

The second cake was straight semi-sweet chocolate chips and it was amazing.  That is all.  Look, it's all chocolate, you can't really mess that up, I'm just saying that I liked the mint as well.  Oh, you don't need to ice this beauty in any way, shape, or form, it's already rich enough without.  That being said?  I totally did that.  I defrosted the leftover icing from the Skor bar squares and put it to good use.  Sure you don't need to ice it, but you should WANT to.


One thing these photos do not properly convey is the sheer heft of the cake.  The batter is very thick and the cake comes out very heavy.  It's surprisingly moist and delicious, so clearly the additional weight is from the caloric content.


Thursday 4 August 2011

Taste Odyssey #3 - Peanut Butter Cup Cookies

Recipe: http://allrecipes.com/recipe/peanut-butter-cup-cookies/detail.aspx

After this particular recipe I am now updating on a weekly basis, as I will be caught up with my current attempts at baking.  I have one left for next week's entry, and then the week after that will hopefully bring something new and exciting into all our lives and more importantly our mouths and to a relatively lesser extent our stomachs, waistlines, and lower intestines.

Right, so I stumbled onto this cookie recipe while I was browsing for ideas that looked good but didn't require a Herculean effort or some sort of baking mojo I have yet to accrue.  I went looking into these solely based on the title, figuring that they would be woefully complicated, however, given the name.  Far from it, these little scamps have pretty much all you could want in a cookie - great dough with a bit of a kick thanks to the peanut butter cups, and once you know a couple of simple tricks they are bog easy to make.

Trick one - make sure you have some decent capacity mini-muffin pans to bake them in.  That sounds ridiculous, but mini-muffin pans come in some pretty small sizes and you'll be baking these things way longer than necessary if you keep having to bake and cool off a single pan due to inadequate size (look, it matters, just accept and move on).  With a single batch yielding 40 cookies, I recommend a couple of 12-muffiners (accepted unit of measurement from the Muffinological Institute of Oslo) so you can get the whole batch done in two bakes.

Trick two - handle the peanut butter cups (I used Reese's) with care and common sense.  Try buy them as close to home as possible and not in the middle of a blisteringly hot summer day like some idiot (nobody I know, I swear).  Once home, stuff them in the fridge for an hour or so before prepping them.  This next bit is not part of the recipe, but something I read from others who had tried it and it should be considered essential to the whole thing given how easy it makes it.  After unwrapping the peanut butter cups from the fridge, toss them in a container of some kind and then throw them in the freezer for a bit (pretty sure I did an hour or so here too).  You may consider this a basic concept on the level of fire = bad, but once the cookies are out of the oven they are very hot and if you try and stuff a room temperature peanut butter cup into the center it'll come apart faster than the American economy tossed into a centrifuge.  Even the frozen ones were quickly warmed and slightly melty on the underside, but the outer peanut butter cups retained the pleasant Madison-Avenue-designed shapes that helped sell the look of the whole thing.

On the food allergen and migraine front, pretty much smooth sailing straight on through with these.  Kraft Peanut Butter in its original form has nothing of any concern.  Shockingly enough, neither did the Reese's Peanut Butter Cups, which I had fully expected to contain some extraneous thickening agent.  Nope, they are just as rich and as bad for you as you had originally thought.  Oh, and these may contain traces of peanuts, so be warned.  Ahem cough.

That's pretty much it.  The cookies look a lot like a similar version I've seen around that has Hershey's Kisses stuffed in the middle, with the difference being that the recipe for the base used here tastes better and a peanut butter cup will kick the ass of a Hershey's Kiss every day of the week.

Tuesday 2 August 2011

Taste Odyssey #2 - Skor Bar Squares w/Allegedly Vanilla Icing

Recipe: http://www.grouprecipes.com/6489/awesome-skor-squares.html
Recipe: http://www.canadianliving.com/food/creamy_vanilla_frosting.php

I look forward to going to once-a-week posting once I finally catch up to my current experiments in baked goods, but for now you can enjoy as I keep pushing through my check list of culinary conquests.

Important Cross-Border Cooking Clarification - Skor Bars are a chocolate-coated toffee confection that tastes like delicious.  The closest American equivalent for this recipe are Heath Bars.  If they do not sell chips of this product, please don't look too hard at how awesome this recipe is.

Compared to the diabolical complexity of the whole carrot cake experiment, this proved to be a very, very easy follow-up.  On the Superman Scale of Dessert Complexity, the carrot cake was easily a Lex Luthor master plan whereas this one was more like a guy named Doug trying to get out of paying his bar tab. 

This recipe was born from my desire to recreate a similar one that my mother had made some years prior, but I didn't really feel like asking for what she used.  My whole thing here is exploring and trying to learn something, so I went hunting for something that sounded about right and made it.  Undoubtedly the simplest recipe I have attempted so far; the hardest part was getting the icing made. In fact, I whipped up two pans of these in the same time it took to do the carrot cake, if not less.

First off, in terms of ingredients, the only thing that was slightly sketchy here were the Ritz crackers.  You'd be amazed what they hide in food packaging labels and I was still a bit worried after I vetted them that rogue MSG could be lying in wait.  Turns out that this is not the case, I am happy to report.  Icing was a different story; your laboratory bred can of pre-made frosting is a quick and easy fix but it has a list of chemicals that wouldn't sound out of place on a package labelled "Penzoil" let alone "Duncan Hines" and I do not trust them.

But, let's start at the beginning.  Undoubtedly the most enjoyable part of this recipe is the crumbing of the Ritz crackers.  Simple and fast way to do this?  Punch a small hole in the side of the bag, let the air out.  Next grab your rolling pin and just start beating the holy hell out of the crackers.  After you revel in the vicarious thrill of this for a bit, get down to actual business and start rolling the pin over the bag.  The crumbing really depends on your level of devotion to the definition of the term.  I almost want to say that the first bag that had bigger bits in it turned out slightly better but both of them were delicious so it's a matter of preference.

Oh, and this is going to sound utterly dim, but when the recipe calls for condensed milk, they mean sweetened condensed milk.  Which I'm sure for many people is a bit of a 'duh' moment, but I was looking around for quite some time, vainly seeking milk that was just condensed before realizing that such a beast does not exist.

As I say, that was the easy part.  Next came the icing.  You'll notice the term 'Allegedly' up there in the title because it tasted great but the vanilla was probably not as mixed in as it should have been.  Totally my fault, so your results may vary, though it could be that the small amount of vanilla used is overwhelmed by everything else.  I did like this recipe because the icing was amazing, natural, and it made an insane amount.  I can confirm that leftover icing (and there's plenty to frost two pans of this stuff plus a ton extra) will freeze just fine and can be easily thawed out and applied later with no harm to its sugary goodness.

Big food warning regarding the whipping cream though.  I highly recommend coughing up the extra couple bucks for the all-natural stuff (Farm Boy carries it up here, I have heard Trader Joe's has similar in the States).  Your average dairy has thickened its whipping cream with a product on the label called carageenan.  It is a natural food thickener that's found in just about everything that you can imagine needs thickener (and some things that don't need thickener where apparently they toss it in just for the hell of it) because it's cheap.  It is also known to cause stomach issues in sensitive people, particularly those with IBS, and it can cause MSG-related reactions.  So if you know somebody sensitive to MSG, the whipping cream will turn your icing into something just as potentially problematic as the store-bought kind.  Since I know people with both issues, big no-no.

All potential problems avoided, however, and you have an incredibly rich and easy dessert.  Very tasty for a very minimal amount of effort.  Pardon the blurry picture but I did get better with the camera as I went.  Oddly enough the inside of our fridge is not an optimal photo studio.  Until next time, insert witty cooking catchphrase here!

Monday 1 August 2011

Taste Odyssey #1 - Carrot Cake w/Cream Cheese Icing

Recipe: http://www.canadianliving.com/food/canadas_best_carrot_cake_with_cream_cheese_icing.php

Some of my baking experiments are fueled through my wife's very delicate migraine sensibilities.  She's quite sensitive to certain foods and ingredients, so by making something that's all natural ingredients I am able to confidently provide the delicious without exacting a horrible price later on.

That was certainly the reasoning behind the carrot cake.  I'm not going to give great detail, yet, on what I have been doing, more illustrate the perils and any alterations that may have occurred along the way to the finish product.  Sadly I don't have a great picture of this carrot cake because it looked fantastic.

One thing I did not quite grasp from the outset was the concept of pan greasing and flouring, which is one of those baking terms that everybody expects you to know without actually telling you what it is.  Essentially, you grab a blob of butter, softened works really well obviously, and rub it all over the surface of the pan in question.  Then take a half cup of flour and shake it over the greased pan surface.  Next toss the flour all over the place like you're having a seizure, coat the whole thing, then dump the excess flour out.

My only thing about flouring is that I tend to leave a little too much in the pan, but I can safely say that a little extra here and there will not adversely affect anything coming out of the pan proper in my current experiences.

The recipe was pretty complicated for a first time baker, but going in with a cool head and some assistance from Cassie (my wife) it was very manageable.  She was a monster help because she shredded the carrots while I fiddled with the other stuff and helped me work the mixer.  Interestingly, this was the only recipe where I actually used our mixer, everything else has been stirred by hand.

This carrot cake recipe wins, hands down, versus most others I found because the others had raisins in them.  I don't mind a raisin but they do not belong in my baked goods.  They are like lazy man's sugar to me and if you are pro-raisin I do not mind telling you right now that this blog will disappoint, shock, dismay, and otherwise not acknowledge your stance.

As I recall, the cake was in for the whole 40 minutes, though I did check it 5 minutes ahead of schedule just to make sure it was good.  It definitely needed the full 40 to cook, which was fine since I made the icing in the meantime.  You could easily shave some time off by buying your own icing but prepared icing is chock full of chemicals and since I'm trying to stay natural here it was homemade or bust.  Besides that, the homemade was amazing and it was really, really simple to bake.

So that was the end of my first foray into baking.  Tune in next time when I start having actual pictures of the nonsense cookery I'm embarking on.